Intro
When we are developing new features for Moneyhub, we often conduct 30-minute usability studies to help us find issues in our prototypes. It is important that we are able to record these studies to refer to later, and it’s taken us a while to design a setup that is simple, reliable and free.
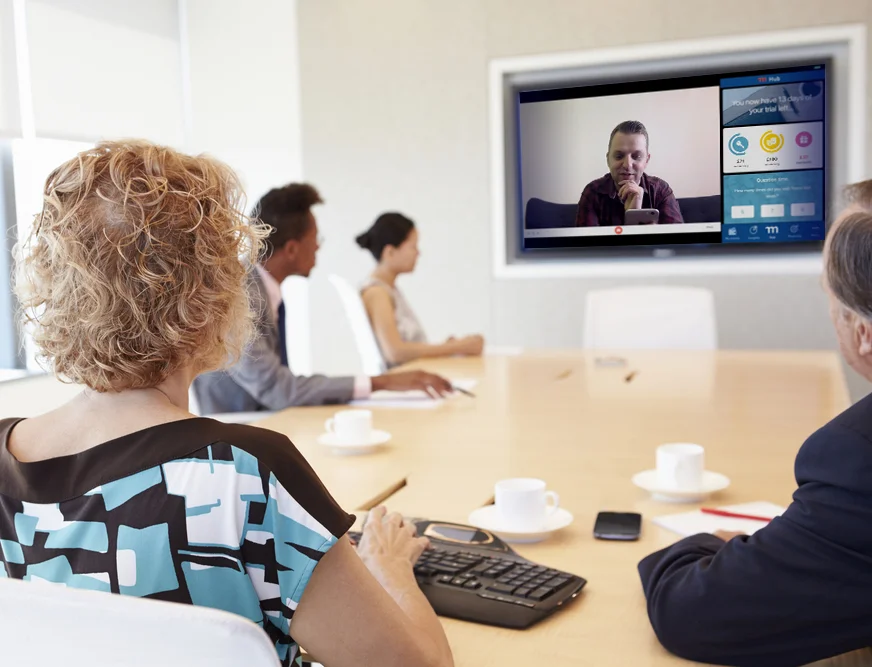
This setup allows us to record the user while they are using the app, as well as the app screen itself. We can also use an HDMI cable or AirPlay to stream the session to observers in a different room.
Here is how we record our test sessions using nothing except an iPhone and a MacBook.
Overview
Step by step
1. Get your app onto an iPhone and plug it into your MacBook
We often use InVision to get simple prototypes up and running, but we have also tested prototype code in the real app and Home Screen Web Apps on iOS.
2. Use QuickTime Player to show your iPhone screen on your MacBook
Open QuickTime Player and go to File -> New Movie Recording then choose your iPhone as the input source from the input selection popup:
Now you will see your iPhone appear on screen in its own window. Don’t press record on this screen - this is just a way to get your iPhone screen onto your MacBook.
3. Use Photo Booth to show your participant on your MacBook
Just open Photo Booth on your MacBook. Done.
4. Position your QuickTime Player and Photo Booth apps on screen
We set ours up like the diagram above, using Split View in macOS to keep the screen decluttered.
5. Stream your MacBook screen to your observers
If you can run an HDMI cable to your observation room, do that. Otherwise you can use AirPlay and an Apple TV to stream your screen wirelessly.
6. Use QuickTime Player to record your session
Back in QuickTime Player, go to File -> New Screen Recording.
Make sure the Internal Microphone is chosen as the Microphone source so your observers can hear your session and that your recording includes audio.
If you are streaming your session to observers, make sure your audio output is set to your TV, by going to System Preferences -> Sound -> Output and choosing the appropriate output.
Press the red Record button, and click the screen to begin recording.
7. Dim the screen on the MacBook
Reduce the brightness to zero to make sure your participant isn’t seeing themselves on your laptop screen.
8. Finish the recording
This is the bit no-one can ever remember! To stop the screen recording, you have to click this tiny little stop button in the macOS menu bar:
You then can save your recording for later reference. Here’s what one of our test session recordings looks like:
Roundup
This setup allows us to get valuable insights into how users interact with our prototypes, and it’s completely free.
The one downside to some other solutions is that you don’t get to see the locations where the user is tapping or swiping in your test. We haven’t found this prohibitive, as the recording of the participant usually makes this clear enough. Also, the benefits, we feel, outweigh this issue.
The benefits of our solution include:
It is free as it only uses software that comes with your MacBook. No paid-for services like UserTesting.com needed.
It doesn’t need any special code to let you test. Things like lookback.io require you to modify your app code because we are just capturing the iPhone screen directly.
It doesn’t require intrusive hardware cameras like some other solutions, such as Mr Tappy.
It is reliable as it’s a simple setup using first-party software.
It is not restricted to testing our apps as we can just open Safari if we want to test a website, and can even run studies on competitors’ products!
So next time you conduct a usability test session, try this simple, reliable and free setup.
–Written by Tom Hicks, Software Engineer
If you enjoyed reading this post, follow us on Twitter @MoneyhubEnterpr and LinkedIn, to keep up to date with our news and insight.


